This guide will walk you through the entire process of brewing kombucha at home from scratch, including essential tips, flavoring ideas and troubleshooting advice to help you craft the perfect homemade kombucha.
What is kombucha?
Kombucha is fizzy, fermented tea. Fermentation happens thanks to a SCOBY, which stands for symbiotic culture of bacteria and yeast. If you spend enough time reading about kombucha, you might also hear it called a mother or even a mushroom. It looks like a flat, rubbery, beige pancake. Definitely not the most visually appealing thing. But it is packed with the yeast and beneficial bacteria that transform sweet tea into kombucha.
Why make kombucha at home?
There are several benefits of homemade kombucha. First its cost effective. Making kombucha at home saves a ton of money. You can brew a whole batch for the price of just one or two bottles from the store. Second, you have complete control over the ingredients, so you can skip the added sugars and artificial flavors and make it exactly how you like it. Third reason why brew kombucha at home is customization. You can get creative with flavors, from fruity and spicy to herbal and floral, making each batch tailored to your taste.
What you need to make kombucha?
To brew kombucha at home, you’ll need a few basic ingredients and equipment. Here’s a list to get you started on your kombucha-making journey:
Ingredients
Tea – You will need black tea or green tea as the base for your kombucha. But I personally use a blend of 2/3 black tea and 1/3 green tea (2 sachets of black tea and 1 sachet of green tea). The tea provides the necessary nutrients for the fermentation process.
Sugar – White sugar is used to feed the yeast and bacteria in the Scoby. Don’t worry, most of the sugar will be consumed during fermentation, leaving you with a slightly sweet and tangy drink.
Starter tea – This is fermented kombucha from a previous batch or store-bought kombucha. The starter tea helps kick-start the fermentation process by introducing the right balance of bacteria and yeast.
Scoby for kombucha –It is essential for fermentation. It transforms the sweet tea into kombucha by converting the sugar into beneficial acids, alcohol and carbonation. You can get a SCOBY for kombucha either from a kombucha starter kit or a friend who brews their own.
Equipment you will need
Glass jar – A 1-gallon glass jar (around 3,5-4 l) is ideal for brewing kombucha. Glass is non-reactive, ensuring your tea won’t pick up any unwanted flavors.
Cloth cover – You will need a breathable cloth, such as a clean kitchen towel or cheesecloth to cover the jar. This allows air to flow in but keeps out dust or bugs. Rubber band to secure the cloth over the jar opening.

Step-by-step instructions on how to make kombucha at home
Follow these step-by-step instructions to make your own delicious kombucha.
Step 1: Prepare the tea
Boil Water – Heat 4 cups (1 liter) of water to a rolling boil.
Add Tea and Sugar – Remove from heat and add 4-6 bags of black or green tea. Stir in 1 cup (200 grams) of sugar until fully dissolved.
Let It Cool – Allow the tea to cool to room temperature (about 2-3 hours).
Add More Water – Pour the cooled tea into a clean glass jar and add 8-10 cups (1-2liters) of filtered water.
Step 2: Add the scoby
Prepare the starter liquid – Add 1-2 cups (250-500 milliliters) of previously brewed kombucha (or store-bought unflavored kombucha) to the jar.
Introduce the Scoby – Gently place the Scoby into the jar.
Cover the jar – Use a clean cloth or paper towel secured with a rubber band to cover the jar, allowing airflow while keeping contaminants out.
Step 3: Fermentation steps
Find a warm spot – Place the jar in a warm, dark space (ideally 19-23°C) and let it ferment for 7-14 days.
Taste test – After 7 days, start tasting the kombucha. The longer it ferments, the tangier it becomes.
Remove the Scoby – Once you reach the desired flavor, carefully remove the SCOBY and set it aside for the next batch.
Step 4: Bottling and carbonation
Pour and strain – Pour the kombucha into clean bottles, straining out any residue.
Add flavoring (optional) – Enhance your kombucha with fruit, herbs or ginger for extra taste.
Seal and store – Tightly cap the bottles and leave them at room temperature for 3-7 days for natural carbonation.
Refrigerate – Once carbonated, refrigerate to slow fermentation and enjoy chilled.
Kombucha fermentation
First fermentation: turning sweet tea into kombucha
The first fermentation (F1) takes about 7-12 days, though some people like to let it go longer. During this time, the sweet tea ferments, thanks to the SCOBY (Symbiotic Culture of Bacteria and Yeast) and a bit of starter tea. By the end of F1, you’ll have plain kombucha—it won’t have much fizz yet, but it’s ready for the next step.
Second fermentation: flavouring & carbonation
The second fermentation (F2) is where the magic happens. This is when you add flavors, usually fruit, herbs or spices and bottle the kombucha in a sealed container. Let it sit at room temperature for 2-4 days and natural carbonation will develop, giving your kombucha that refreshing fizz.

Essential kombucha brewing tips
- Always use clean, non-metallic equipment.
- Avoid flavored teas with oils, as they can harm the Scoby.
- Save some kombucha as a starter for your next batch.
Common mistakes to avoid when brewing kombucha
Not fermenting long enough or too long – If your kombucha is too sweet, it needs more time. If it’s too vinegary, it’s overdone. Start taste-testing around day 7 to find your preferred balance.
Using the wrong tea – Stick to black, green, white, or oolong tea. Herbal or flavored teas can weaken or even kill the SCOBY due to added oils and artificial ingredients.
Skipping proper cleaning – Dirty equipment can introduce harmful bacteria or mold. Always wash your brewing jar, bottles, and utensils with warm, soapy water and rinse well.
Ignoring temperature control – Too cold (below 21°C), and fermentation slows; too hot (above 24°C), and the SCOBY can get weak or die. Keep your brew in a warm, stable environment.
Over-carbonation and bottle explosions – Leaving bottled kombucha at room temperature too long can create excessive pressure. Burp bottles daily if fermenting for extra fizz.
Neglecting the Scoby – The Scoby needs care! Always store it in some starter liquid between batches to keep it healthy.
Covering the jar improperly – Using an airtight lid can suffocate your brew. Always use a breathable cloth or coffee filter to keep out contaminants while allowing airflow.
Flavors: customizing your kombucha
One of the best parts of brewing kombucha at home is getting creative with flavors during the second fermentation (F2). This is when you add ingredients like fruits, herbs and spices to create flavored, fizzy kombucha that suits your taste.
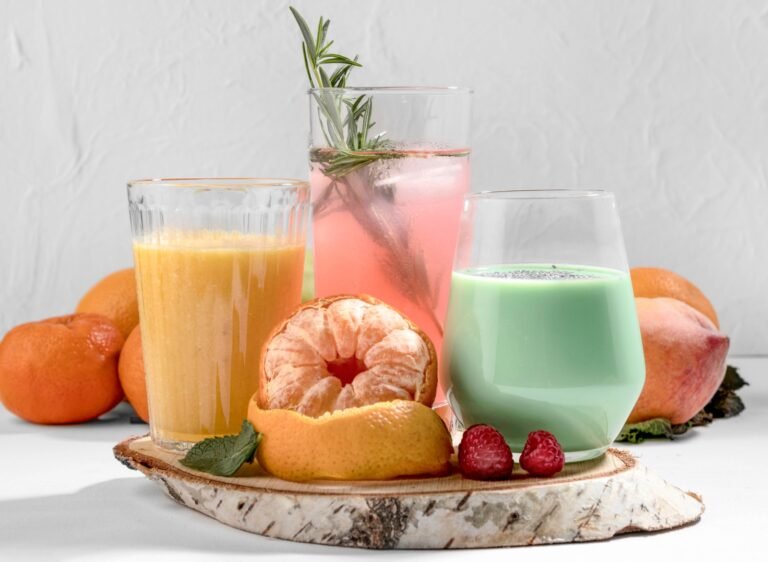
Once you have removed the Scoby, pour your kombucha into airtight bottles, leaving a little space at the top. Then, add your favorite ingredients into the bottle. A classic option is ginger and lemon combination. If you are into something fruity, try mixed berry, blending strawberries, raspberries and blueberries. For a more adventurous twist, try mango and chilli, combining the sweetness of mango with a touch of heat. For extra flavor, you can add fresh herbs like mint or basil. They give your drink a fresh, tasty twist. Try different flavors and see what you enjoy the most. Let the flavored kombucha ferment at room temperature for 2–4 days to develop carbonation. The longer it ferments, the fizzier it becomes. Once it reaches your preferred level of bubbles and flavor, move it to the fridge to slow down the fermentation and enjoy it chilled.

FAQ: How to fix common kombucha issues
If you are facing issues like mold, flat kombucha or off flavors, don’t worry as there are easy ways to fix it.
How do I fix mold growth in kombucha?
Mold can appear on the surface of your kombucha if it’s exposed to too much air or if the brewing environment is too warm. If you spot fuzzy, green or black spots, it is best to throw out that batch. Make sure to clean your brewing equipment well before starting a new batch. Next time cover your jar with a clean cloth or towel to prevent contaminants while still allowing airflow.
What should I do if my kombucha is flat?
Kombucha gets its fizz during the second fermentation (F2). To do this, pour your kombucha into airtight bottles and add some fruit. The sugar from the fruit helps kickstart fermentation again. Since the bottles are sealed, the air can’t escape, and this trapped carbonation creates the bubbles. If your kombucha isn’t fizzy after opening the bottle, it likely needs more time to ferment or more fruit to provide extra sugar for the bubbles to develop.
How can I fix off flavors in my kombucha?
If your kombucha tastes too sweet or too sour, it is likely a fermentation timing issue. If it is too sweet, it needs more time to ferment, as the sugar hasn’t fully broken down. If it is too sour, it has been fermenting too long. You can adjust the fermentation time on your next batch. If needed, experiment with different types of tea or sugar to find the right flavor balance.
Conclusion: your guide to brewing kombucha at home
Making kombucha at home is simple and much more affordable than buying it from the store. With just a few basic ingredients, you can brew your own kombucha and enjoy it anytime you want. While it may take a bit of time and patience, brewing kombucha at home is totally worth it. Once you have got the hang of it, you will be enjoying fresh, homemade kombucha whenever you want.
And hey, if you are starting to enjoy the whole fermentation thing, why not give beet kvass a try? It is another easy fermented drink, but with a completely different flavor – earthy and slightly salty. We’ve got a beet kvass recipe to walk you through it.


